|
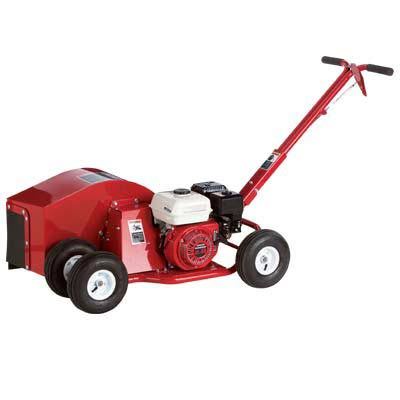
Spreading or installing mulch may seem like a simple task. However, for those who have never done it, here are a few tips that can make you look like a professional. Prepare for delivery1. Clean up leaves, sticks and debris from your installation area. Remove weeds by hand or spray with Roundup. Prune bushes and trees. 2. Pick a site for your mulch delivery. Off road driving is risky for you and the truck. 3. Edge along beds and paved areas.
Installing the mulch |
Accessible Navigation
Stay Informed
Search Our Website
Main Navigation
©2026 | Greenville, Spartanburg, Boiling Springs, SC | Southern Mulch. All rights reserved.
View Accesskeys
Accesskeys
This site contains a number of keyboard shortcuts, called "accesskeys," to assist in navigating. Each Internet browser has a different method of accessing these keys:
- Internet Explorer on a PC use ALT+Accesskey
- Firefox on PC use ALT+SHIFT+Accesskey
- Firefox and Safari on Apple or Linux use CTRL+Accesskey
Please note: Internet Explorer users may also need to hit the “enter” key to activate a link. Apple users with Spaces enabled may need to use the accesskey for Skip to the main navigation (A); then, TAB through the navigation and press "enter" to activate a link.
Page navigation
- 0 : Back to Home
- 1 : Home
- 2 : Products
- 3 : Services
- 4 : Calculator
- 5 : Testimonials
- 6 : Resources
- 7 : Contact Us
Page jumping
- ? : View Accesskeys
- A : Skip to the main navigation
- C : Skip to the content
- S : Skip to the side bar


